

Introduction
Ever wondered why your styles are not working properly?
That's because of Specificity.
Specificity is a weightage given to a particular CSS declaration and this is how a browser decides which rule is to be applied to an element.
- If multiple declarations with equal specificity are defined in the stylesheet then, the one defined at the last will be applied to the element.
- Closest targetted element will have more priority than the parent element(or inherited CSS).
- Specificity comes into the picture only when the same element is targetted multiple times, in order to select the most specific declaration among all.
Order in which specificity matters:
Important tag(exception)
!important overrides all other stylings without calculating anything and gets applied directly. It disturbs the specificity of an element, which create problem in debugging. Hence, it is not used much and asked to avoid.
h1{
color:purple !important
}
Inline styles
Inline-styles are the ones which is defined in the HTML itself while defining the elements and attributes. We are usually, asked to avoid inline styling because they are the most specific and hence override all the other styles written in the external style sheet. Which make it hard to re-style a component.
<h1 style="color:red; background-color: black">Hello There!</h1>
External stylesheet
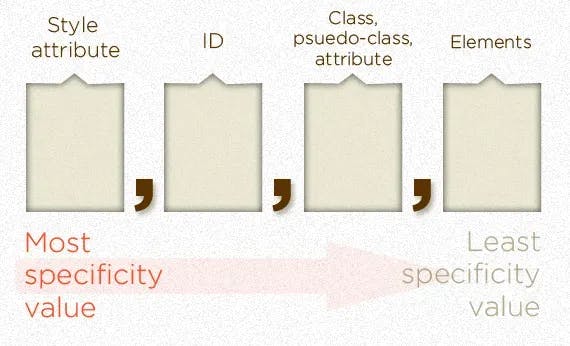 img Source : CSS tricks
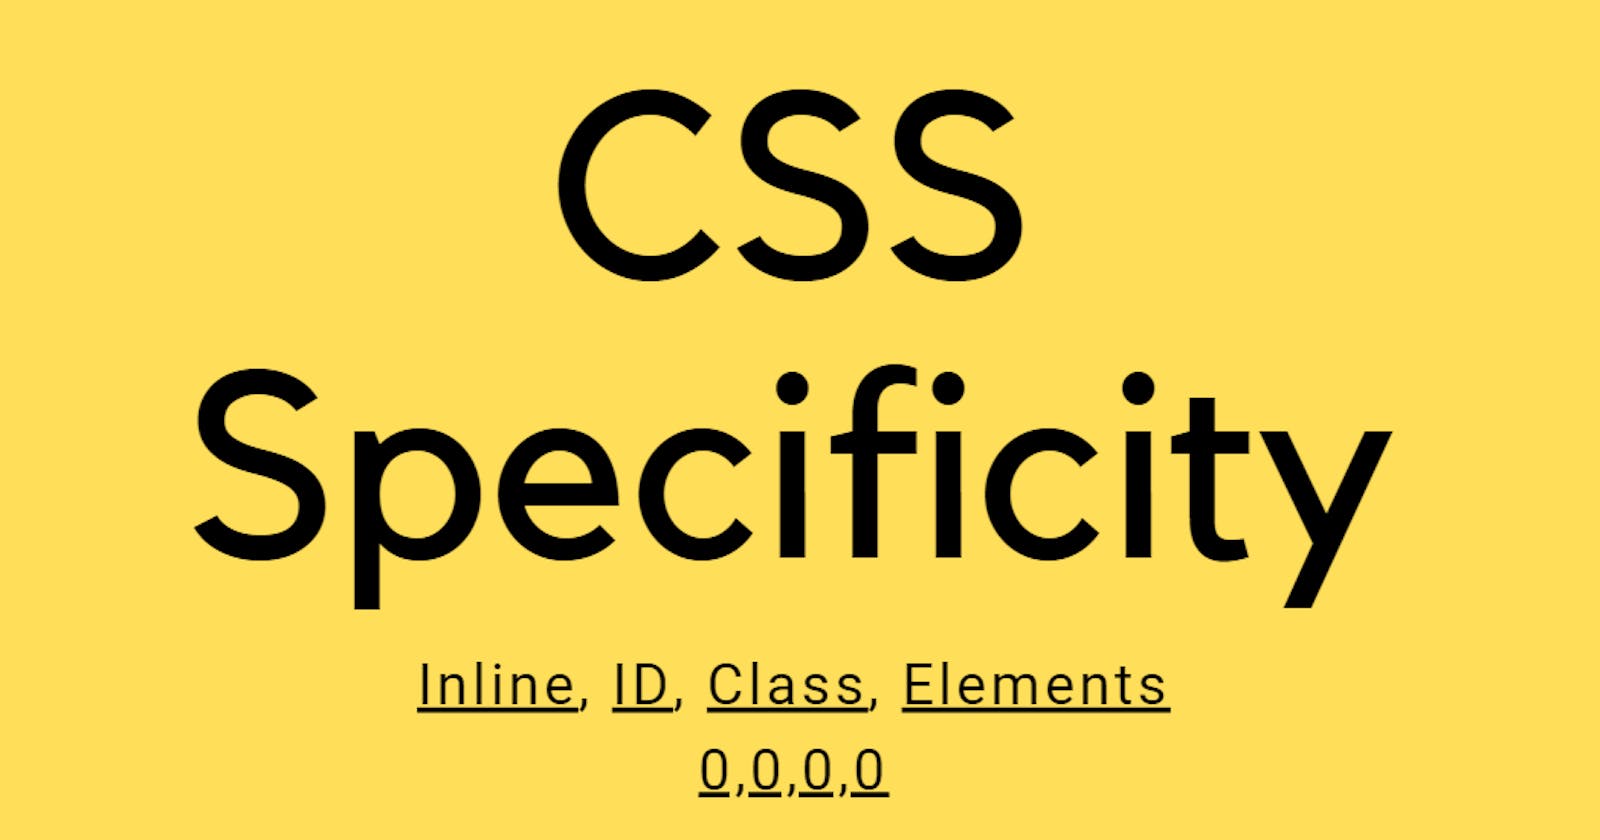
Specificity can take a number of 0000(inline, IDs, classes, elements).
1 ID's
IDs are the most specific among all the declarations of the external stylesheets. And adds the value 0,1,0,0
2 Classes, attributes, and pseudo-classes
Classes, attributes, and pseudo-classes take the same precedence after IDs in specificity calculation. Adds the value of 0,0,1,0.
3 Elements and pseudo-elements
Elements and pseudo-elements take the same precedence. Adds the value of 0,0,0,1 on every addition to the CSS declaration.
Examples of specificity
Example 1
#submit{ /*-->1 ID: 0100 - this is more specific */
color:red;
}
.example{ /*-->1 class: 0010 */
color:blue
}
section p{ /*-->2 elements: 0002 */
color:purple;
}
In the above example #submit CSS declaration will get applied as it is the most specific
Example 2
.submit{ /*1 class: 0010*/
color:black;
}
.submit:hover{ /*1 class and 1 pseudo class -->1+1=2 class: 0020*/
color:yellow;
}
.submit:hover property is more specific. Hence it'll get applied for a specific condition of hovering.
Example 3
#hero{ /* 1 ID: 0100 */
  color:green;
}
.hero{ /* 1 class: 0010 */
  color:red;
}
.hero:hover{ /* 1 class+1 pseudo class --> 2 classes: 0020  */
  color:blue;
}
ID is given priority over n classes. Hence, #hero will get applied, even for a hovering state declaration won't change
Example 4
HTML
<body>
  <div class="hero">
    Hello
  </div>
</body>

CSS
.hero::first-letter{
  color:brown;
}
.hero{
  color:green;
}
.hero:hover{
  color:blue;
}
In example 4, ::first-letter is a pseudo element and :hover is a pseudo-class.
Pseudo-class enables us to target an element in a particular state as if we have added a class for that state to the DOM.
Pseudo-elements act as if we have added a whole new element to the DOM, and enable us to style that. Source mdn docs.
In the above example even after changing the color on hover, the color of the first letter didn't change. This shows, that in order to change the color of the first letter we need to add more specificity to it. Something like
.hero:hover::first-letter{
  color:aqua;
}
Wrapping up
We learned about specificity, how specificity works with multiple CSS declarations, and how a more specific declaration overrides the other.
- Want to continue this discussion? Or have any feedback for me? Let's connect on Twitter, or write to me at kumsomi.5@gmail.com.
Thanks for reading.
Until next time, take care.